7 Useful Sewing Hacks You NEED To Try!
- Mar 24, 2022
- 5 min read
Updated: Mar 25, 2022

Video link: 7 Useful Sewing Hacks You NEED To Try!
HERE ARE 7 SEWING TRICKS YOU HAVE TO TRY!
SEWING TRICK # 1

This first sewing tip is great for when you’re hemming jeans or really thick fabric. When hemming jeans, you’ll notice that when you get to the seams, its super bulky and difficult to sew over. Some of you probably have even broken a needle trying to sew over this. Method number one is to cut the bulky seam away about a half inch. Then you can fold over the raw edge once, and fold it over again a second time to hem. This cuts the bulk from the seam, making it lay flat and easier to sew over. The second method you can use is snipping into the seam allowance, first a half inch up, and second another half inch above the first snip. Now you can flip the piece in the middle over to the other side which will also help reduce the bulk when sewing. Now you can flip the piece in the middle over to the other side which will also help reduce the bulk when sewing. Sew down the seam. It also helps to switch to a jeans/denim sewing needle


SEWING TRICK # 2

If you’re sewing more than one hook and eye, evenly mark the spacing of each hook onto your fabric first.
Then using a tapestry needle It looks like they poked a hole only through one layer of fabric. I recommend wiggling the end of your tapestry needle to make the hole a little bigger before pulling it out, this way the hook can easily slide through. Now with the hook faced down, insert it through the first hole and out the second. Another thing I want to note is to not make the distance between the first hole and second hole too far because your fabric will gather in between the hook. This sewing hack definitely takes some practice but overall I like that it does do a great job of holding all my hooks in place for hand sewing!


SEWING TRICK # 3

Loops can be tricky to line up and sew evenly because they move around a lot but apparently if you stick them on a piece of masking tape first they’ll stay in place and you can continue sewing as usual. Measure out where you want the loops, and add the loops onto the masking tape, and line up the center crease with the markings. Make sure the end of the loops touch all the way near the other side of the tape before sewing. Just sandwich the taped loops in between the other two layers of fabric and sew over the tape. Sew the two fabrics together with the tape still attached. Afterwards you can just pull the tape out!


SEWING TRICK # 4
You can use paper clips to hold your fabric together. I thought this was cool because you can easily slide the paper clips down, making it useful when hemming. Paper clips are also super inexpensive and easy to find. You might already have some at home!


SEWING TRICK # 5
I saw on Instagram that someone used men's clippers as an electric seam ripper so I decided to give it a try! They actually do sell electric seam rippers for sewing, but if I’m being honest I never knew that existed or seen it used before. I was curious to see if it would tear my fabric and it didn't but definitely test it out on your scraps before using though! I’ll also link the electric seam ripper down below for anyone that’s interested in trying it out.

SEWING TRICK # 6

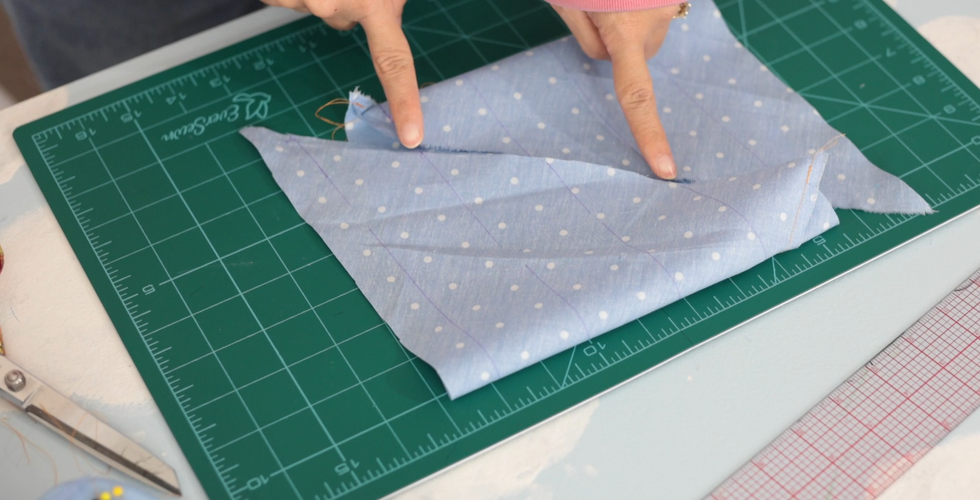
This sewing trick teaches you how to efficiently make a super long strip of bias tape! Depending on how much bias tape you need, cut out a square that is bigger or smaller. For this example my square is 12 x 12. Next fold the square in half into a triangle and crease the fold so when you unfold it you have a guideline to cut. Cut the excess fabric off so the fabric is a perfect square. Next fold the square in half into a triangle and crease the fold so when you unfold it you have a guideline to cut. Flip one of the triangle pieces over so the two layers are facing right sides together, and sew along the top.


Next I measured a half inch double fold bias tape so I know how wide to make my strips. The measurement was 1 and 3 quarter inch. Open up the fabric so the wrong side is up, and I mark lines 1 and 3 inch a part. You should also go ahead and press your seam here while its flat. Once you have the lines matched up here, offset it by 1 line. Now I can pin it together and sew it closed. Once you have the lines matched up here, offset it by 1 line. Now I can pin it together and sew it closed. Lastly, cut out your long strip of bias tape by following the lines you marked! Again make sure to press your seams before doing so! If everything goes correctly you should end up with a long strip of fabric like this. I love and appreciate this method so much because I always struggle attaching strips together to create a long bias tape. Using this method the seams are already sewn diagonally for you which reduces the bulk when you fold it over and sew!


I also wanted to share this handy bias tape maker which will evenly fold your fabric so you can quickly press it with your iron. The pack I have comes in different sizes. Click on the link here for the bias tape maker anyone interested in getting one.


Sewing Hack # 7

This hack is great for those of you that don’t own a bias tape binding foot, you can create your own guide using card stock! First, cut a piece of card stock the same size as my bias tape, and then fold the sides to the middle and creased it with my scissors. Place your bias tape inside and make sure its the correct size, and then fold the paper in half again. Now we’re ready to sew! Line up your bias tape under your needle, and then tape the top of the paper down on your machine. Place a second tape on the inside to hold it still. Sandwich your fabric in the middle and start sewing! It takes a minute to get used to sewing, but I learned that you shouldn’t try to press down on the paper too much or else the fabric won’t move. I was super curious to see if my needle caught both sides of the bias tape and it did!


Alright that was 7 sewing hacks you should try! If you've seen other cool techniques you want me to try, you can DM me on Instagram or tag me on TikTok. I hope you enjoyed reading this blog, and found some of these tips useful. Make sure to check out the full video to get an in-depth tutorial on each of these hacks!


Comments